|
|
TOYOT Restoration
Bottom job w/blisters, Topsides (Hull) & Mast refinishing
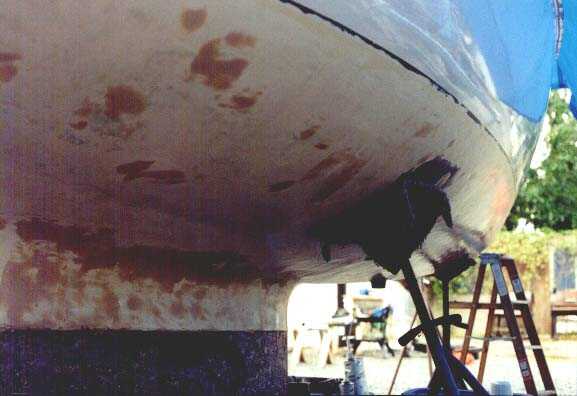
| The Bottom - Part Two To repair the blisters I had ground out I first cleaned them again and then wiped them out with fiberglass solvent. I'd then mix a batch of epoxy and wet out the ground out area. I'd mix up a batch of West epoxy with the 406 colloidal silica filler to a peanut butter consistency and working with a plastic spreader fill, fair and smooth the blisters. One or two larger blisters just got a wet out with epoxy, then I place a small circle of glass cloth in the hole and wetted it out. This would be repeated a few times with larger pieces of cloth. These too got finished off with the 406 - epoxy mixture. Once cured I'd sand, wash and wipe down with the fiberglass solvent.
Once the bottom was smooth again I did a epoxy barrier coat. I used the West System Epoxy again with their barrier coat additive. I did a few coats of this. It too got a light sand after it was set to give the bottom paint some 'tooth' to attach to.
Applied Barrier coat.
Barrier coat on fiberglass part of bottom I put on three coats of Interlux Bottomkote bottom paint.
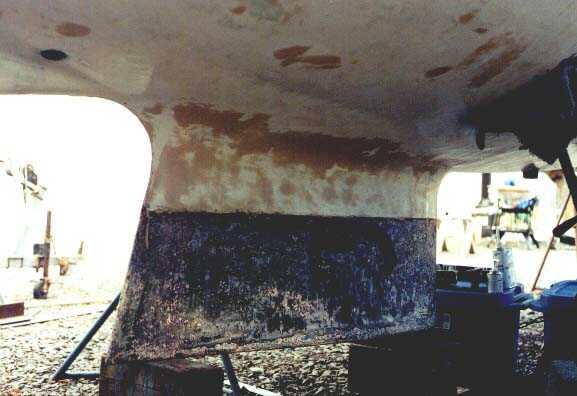
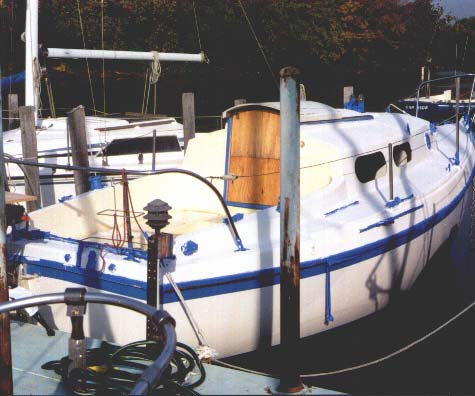
I retaped the other side of the water line and put on a nice bright blue cove stripe and a stripe below the rub rail. Make sure you bite the bullet and buy the good fine line masking tape. The tan junk most of us are familiar with is awful, it doesn't make a clean line and doesn't remove cleanly. The metal part of the keel was covered with pits and rusty spots too. I slathered on a lot of navel jelly to remove the worst of the rust. I repeated this the next day. Then I did a bit of work with the grinder and pressure washer. Finally I used the West Epoxy and filler again to fair the keel too. Same as the bottom basically, with barrier coat, then bottom paint to finish it off.
Cleaning up the lower (metal) part of the keel
The mast and boom looked awful too. I washed them down and then painted them with a acid etching primer designed specifically for aluminum. Paint doesn't adhere to aluminum well without this step. I painted the mast and boom with the same single part polyurethane as the hull, also rolled and tipped. One good tip is to start at the top of the mast. You'll make your mistakes at the beginning as you figure out how to do it and they'll be difficult to see mistakes at 25 feet or more above deck...
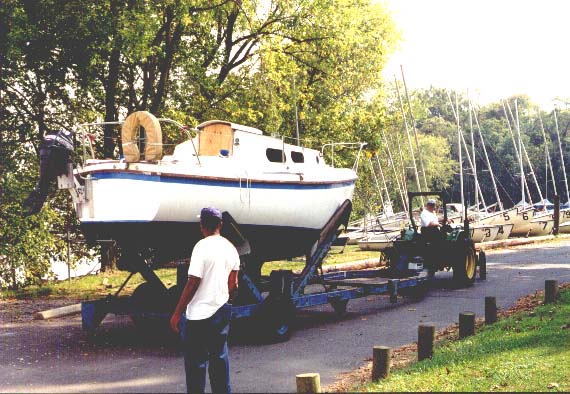
I removed the gate valves that were in the boat and replaced them with bronze ball cocks. There are two blake seacocks, of the cone type construction. They are integral with the through hull fitting. This time around I just disassembled them and cleaned them up. I put valve grinding paste in the fitting and worked the valve around (a lot). Then I cleaned up, lubed and reassembled. They aren't seized any more but they still don't work like they should. I guess I'll replace them completely in the not too distant future. I also drilled a hole in the bottom for the new paddle wheel like speed transducer. I epoxied the edge of the 2 inch hole after drilling it to prevent water seeping in between the laminate. The speed instrument I installed is a Raytheon ST50. You can withdraw the transducer from the fitting from inside the boat and replace it with a supplied plug while you clean the paddle wheel. (So you can clean it of weed etc. to keep it working well.) The nifty thing about this system is the through hull has a little flap door the closes as you withdraw the transducer. This means you only get a few tablespoons of water in the boat when you make the swap instead of a fountain. I re applied new registration numbers and waited for the marina crew to come fetch TOYOT back to the water... Here's the hydraulic trailer they use. No travel lift here I'm afraid. This trailer has a keel support bar and four arms that all adjust hydraulically. They tow it around witha tractor.
Backing TOYOT down to the crane...
After they slings are in place and supporting the boats weight the trailer arms are dropped and the trailer removed.
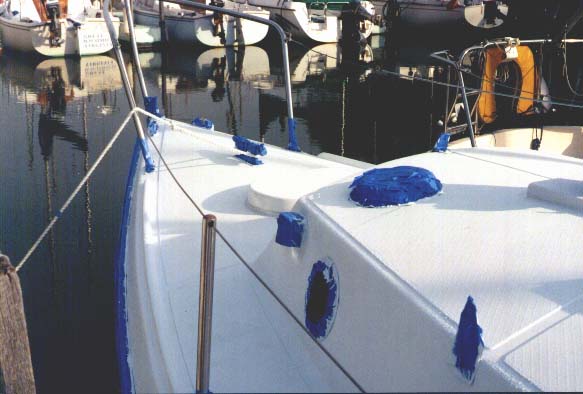
Here we are back in the slip. I've taped off deck hardware to do some painting of the deck next. Same paint and methods as the hull.
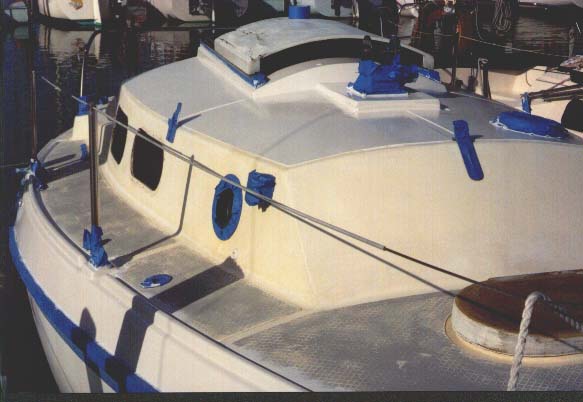
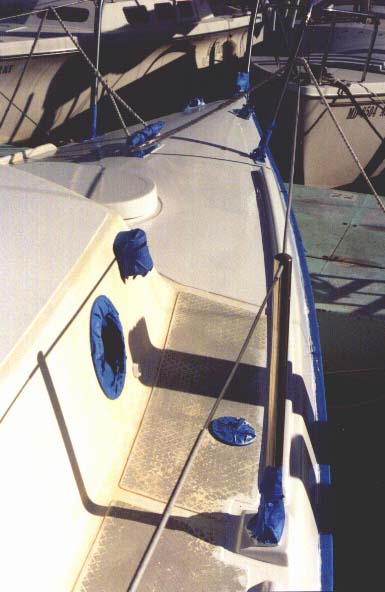
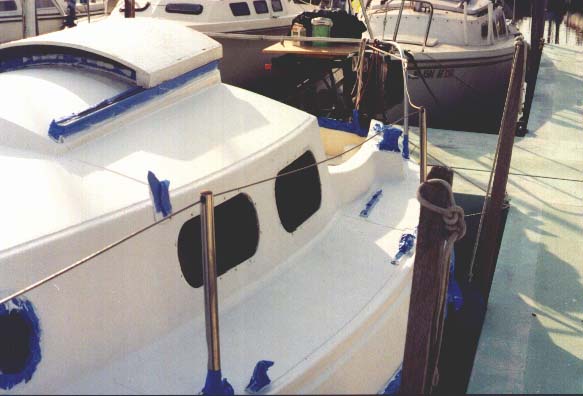
All the books will tell you to remove all the hardware and not try to paint around it. Partly to 'get a better seal'. If this 31 year old boat has hardware that ain't loose or leaking yet, I'm sure as heck not taking it off! I masked and painted around it. Here the foredeck is done, weather deck not yet for comparison. The non skid areas were done in a grey, which I might do when I do the last coat on the non skid areas with some non skid silca added.
more painting...
results...
The finished paint job... |
on to the new companion way sliding hatch